To see the components that I chose and why, goto here first. also unpacking the system here.
I am using the Shuttle sn25p system for further information about the options and why I chose this system see this page.
By undoing 4 screws on the back the cover can be removed.
Its quite daunting at first, all these things that have to be connected up and if something is wrong it wont work.
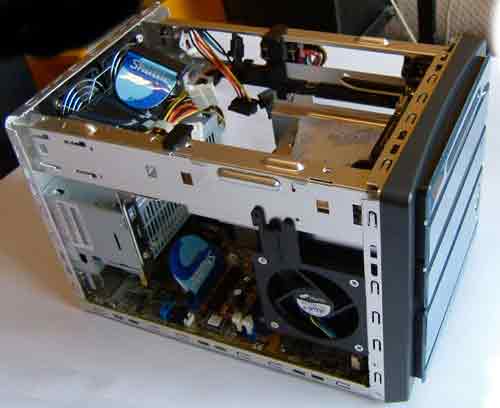
From the back:

The fan duct can be lifted and removed, I found it quite hard to lift it, I think it must get caught on things so you have to coax it out.
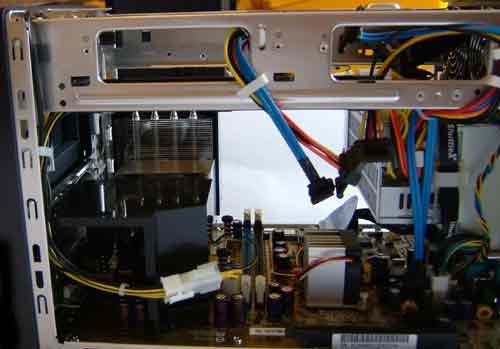
Above with fan duct, below fan duct removed,
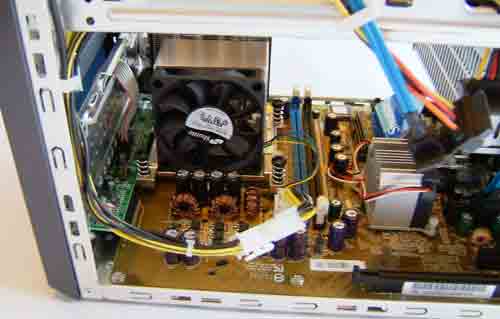
Now remove the heat exchanger and fan, I found it easiest to use a screwdriver to do this, I did not notice the bit in the instruction manual about swinging out the side fan but there was no need to do that as I used the screwdriver..
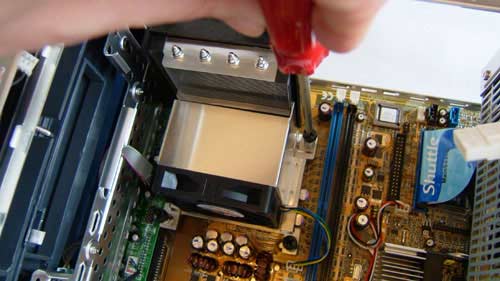
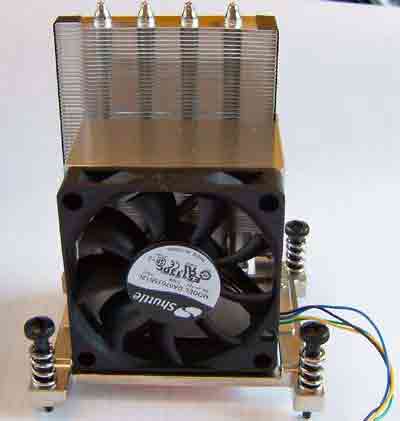
Here is the removed fan/heatsink assembly.
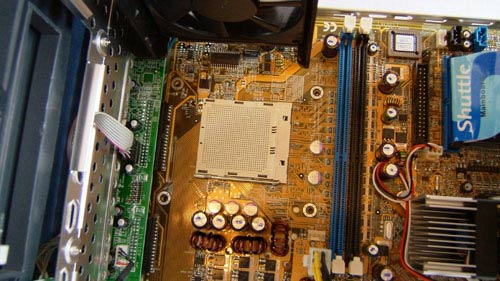
When that is removed we can get at the CPU socket. The leaver on the side of the socket is raised through 90 degrees so that it is vertical, it seems quite stiff
goto Insert CPU
